Lighting Techniques Every Production Photographer Should Know
Posted On: December 1, 2025
Reading Time: 6 min read
Share:


Keep Up with Marketing Trends
Get the weekly newsletter
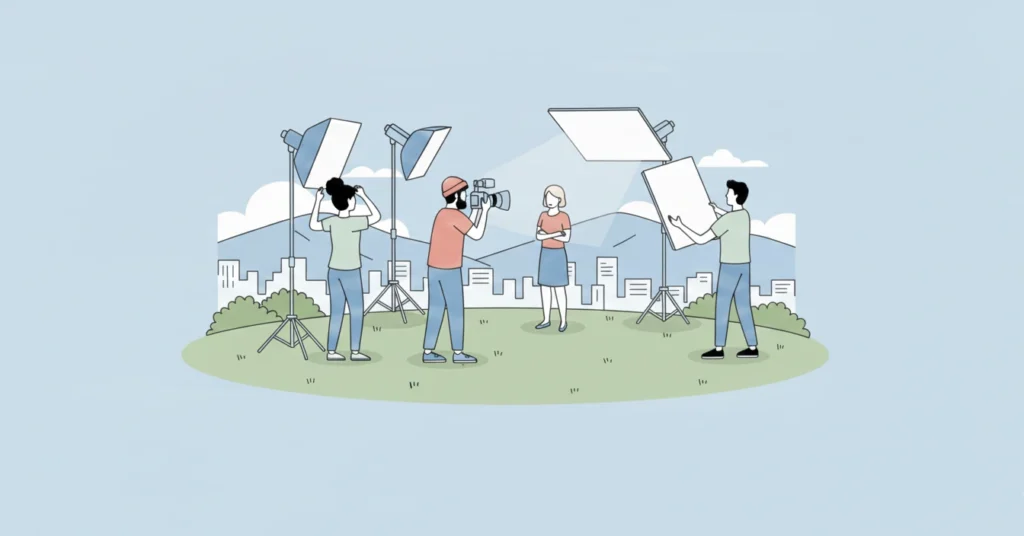
Table of Contents
- Why Lighting Matters in Production Photography
- Understanding Light Fundamentals
- Essential Three-Point Lighting Setup
- Advanced Lighting Techniques for Professionals
- Film Production & Cinematography Lighting
- Professional Photography for Your Brand
- Common Lighting Mistakes to Avoid
- Professional Photography Tips & Techniques
- Conclusion: Mastering the Art of Light
Why Lighting Matters in Production Photography
Light is the foundation of photography. Whether you’re shooting commercial content, creating product images for e-commerce, or capturing corporate portraits, understanding production photography lighting separates amateur work from professional results.
In this guide, we’ll explore essential film lighting techniques and photography lighting tips that every professional photographer should master.
Understanding Light Fundamentals
Natural vs Artificial Light
Natural Light comes from the sun and creates authentic-looking images. It’s free and perfect for outdoor shoots, especially during golden hour (the first hour after sunrise and last hour before sunset).
Artificial Light includes LED panels and strobes, offering complete control over intensity, direction, and color temperature regardless of weather conditions.
Tip: Golden hour provides warm, diffused light perfect for production photography. Schedule outdoor shoots during these magical times for naturally beautiful results!
Hard Light vs Soft Light
- Hard Light: Creates drama with strong, defined shadows—ideal for fashion and artistic shots
- Soft Light: Produces gentle, flattering illumination—perfect for beauty and corporate photography
Essential Three-Point Lighting Setup
Three-point lighting is the foundation of studio lighting setup. This technique uses three light sources to create professional, dimensional images that elevate any production.
1. Key Light: Your Primary Source
The key light is your main light source that defines the mood and illuminates your subject.
Setup Instructions:
- Position 45 degrees from your subject
- Place 2-4 feet above eye level
- Should be the brightest light in your setup
- Use softboxes or umbrellas for softer shadows
2. Fill Light: Balancing Shadows
The fill light reduces harsh shadows created by your key light, adding dimension without overpowering the scene.
- Position opposite your key light
- Set at 50% intensity of key light (2:1 ratio)
- Creates balanced, professional results
3. Backlight: Creating Separation
Backlight (or rim light) separates your subject from the background, adding depth and a professional three-dimensional quality.
- Position behind and above subject
- Slightly stronger than key light for dramatic effect
- Creates professional edge definition
Keypoints: For e-commerce photography, three-point lighting creates the professional quality that drives conversions. Studies show properly lit product images can increase sales by up to 30%.
Advanced Lighting Techniques for Professionals
Rembrandt Lighting
Named after the Dutch painter, this technique creates a distinctive triangle of light on the shadowed cheek—perfect for portrait photography and dramatic character studies.
Setup: Position key light 45 degrees to the side and above eye level.
Best For: Professional portraits, corporate headshots, character photography
Butterfly Lighting
Also called “paramount lighting,” this places light directly above and in front of the subject, creating a butterfly-shaped shadow under the nose.
Best For: Beauty photography, fashion shoots, cosmetic products
Loop Lighting
Creates a small nose shadow that loops toward the mouth—versatile and universally flattering.
Best For: Corporate photography, professional portraits, commercial work
Split Lighting
Illuminates only one side of the face for maximum drama and artistic impact.
Best For: Artistic photography, film noir aesthetics, creative portraits
Broad vs Short Lighting
Short Lighting: Illuminates the side turned away (creates slimming effect)
Broad Lighting: Illuminates the side of face turned toward camera (makes faces appear wider)
Film Production & Cinematography Lighting
Creating Cinematic Mood Through Light
Lighting for Different Emotions:
Happiness/Energy: High-key lighting, bright and even illumination
Mystery/Suspense: Low-key lighting, heavy shadows, single strong source
Romance: Soft, warm lighting with golden tones
Corporate/Professional: Neutral temperature, balanced approach
Luxury/Drama: Dramatic lighting with controlled highlights
Four-Point Lighting System
Advanced productions add a fourth light to illuminate the background separately, bringing out details that might otherwise be lost in shadows and creating professional depth.
Working with Ambient Light
Ambient light refers to existing light in your location that you didn’t add. Smart photographers learn to work with ambient light by:
- Using it as a base and supplementing with artificial lights
- Matching its color temperature for natural results
- Deliberately contrasting it for creative effects
- Controlling it with flags and diffusers
Professional Photography for Your Brand
We capture stunning visuals that tell your story, showcase your products, and elevate your brand presence.
Common Lighting Mistakes to Avoid
✕ Using Light Sources That Are Too Small
Smaller lights create harsh, unflattering shadows. Use larger modifiers or increase distance from subject for softer, more professional light.
✕ Multiple Conflicting Shadows
Multiple shadows from different directions look unnatural and unprofessional. Plan your lighting to create coherent, realistic shadow patterns.
✕ Ignoring Color Temperature Mixing
Mixing daylight and artificial light without correction creates color casts. Balance all temperatures or use gels to match light sources.
✕ Neglecting Background Lighting
Many beginners light only their subject. Light your background separately to create depth and professional polish.
✕ Insufficient Fill Light
Too much contrast loses important detail in shadows. Balance your key light with appropriate fill light levels.
✕ Overlighting Everything
More lights don’t equal better results. Sometimes less is more—use lighting with purpose and intention.
Warnings: Always bring backup equipment to professional shoots. Have spare batteries, backup lights, and extra modifiers. Equipment failure shouldn’t derail your production.
Professional Photography Tips & Techniques
Tip 1: The 45-45 Rule
Start with your key light positioned at 45 degrees horizontally and 45 degrees vertically from your subject. This classic starting point works for most situations—then adjust based on the specific effect you want.
Tip 2: Use Your Camera as a Light Meter
Take test shots and check your histogram. A properly exposed image should have data spread across the entire histogram without clipping highlights or crushing shadows.
Tip 3: Flag Your Lights
Use black flags or barn doors to control exactly where light falls. This precision separates professional lighting from amateur setups.
Tip 4: Create Depth with Light Layers
Light your foreground, subject, and background separately at different intensities. This layering creates depth and dimension in your images.
Tip 5: Study Light in Everyday Life
The best lighting education happens everywhere. Observe how light behaves in restaurants, homes, offices, and outdoors. Study other photographers’ work to understand how lighting was achieved.
Tip 6: Bounce and Diffuse
Direct light is rarely the most flattering. Learn to bounce light off walls, ceilings, and reflectors, or diffuse it through modifiers for softer, more natural results.
Callout: Curious how our team brings every shot to life? See our Production Photography workflow.
Conclusion: Mastering the Art of Light
Whether you’re shooting commercial work, creating e-commerce content, or producing cinematic videos, mastering production photography lighting is essential for professional results that stand out.
The techniques covered in this guide from fundamental three-point lighting to advanced cinematic approaches form the foundation of professional visual storytelling. Remember, great lighting isn’t about having the most expensive equipment; it’s about understanding how light behaves and using that knowledge creatively.